 Queberry
Thinking about setting up your first queue management system but not sure where to begin? This guide walks you through every step — from mapping your current customer flow to going live and measuring results — so you can avoid the common mistakes and get up and running fast.
You know you have a queue problem. Customers are waiting too long. Staff are overwhelmed during peak hours. People are walking out before they get served. You've decided a queue management system is the answer — but now you're staring at a blank page wondering how to actually get one set up.
This guide is written for you. Not for IT architects or enterprise procurement teams. For the operations manager, branch manager, or business owner who needs to implement their first QMS, get it right, and move on. We'll walk through eight concrete steps, cover the decisions that trip up most first-time buyers, and give you a clear picture of what to expect at each stage. .
What You'll Learn in This Guide
- Before You Start: What Does a QMS Actually Do?
- Step 1: Audit Your Current Customer Flow
- Step 2: Define Your Service Types and Queue Rules
- Step 3: Choose Your Deployment Model
- Step 4: Select Your Check-In Channels
- Step 5: Configure the System and Integrate with Existing Tools
- Step 6: Train Your Staff
- Step 7: Run a Soft Launch
- Step 8: Measure, Review, and Optimise
- 5 Mistakes First-Time Buyers Make
- Realistic Implementation Timeline
- Frequently Asked Questions
What Does a Queue Management System Actually Do?
Queue Management Software (QMS) refers to a software application, and sometimes hardware application, that helps in organizing and managing the flow of people waiting for services. The system makes use of technology, and it enables the client to be assigned a virtual queue number, be informed of the position within the queue, and be taken to the appropriate desk or person when their turn comes.
This brings about reduced congestion, faster waiting times, happier clients, and improved service delivery metrics. In Queberry, more than 2 million people utilize our QMS each day.
Audit Your Current Customer Flow
You can't design a better system until you understand the one you have now. Spend time — ideally a full week, including your busiest days — observing and documenting how customers move through your service environment.
Answer these questions before you touch any software:
- What time do peak hours begin and end? Are they consistent or unpredictable?
- How do customers currently check in — walk-in, phone, online, or all three?
- What is your average wait time from arrival to being served?
- At what point do customers give up and leave? (This is your abandonment threshold.)
- How many service types do you offer? Do different services have different average durations?
- Do you have VIP or priority customers who need to be handled differently?
Define Your Service Types and Queue Rules
Most first-time buyers skip this step — and regret it later. Your QMS needs to know what services you offer, how long each takes on average, and how customers should be routed to the right staff member or counter.
Sit down with your operations team and document:
- Every distinct service type (e.g. account opening, loan inquiry, prescription pick-up, general enquiry)
- Average service duration for each type
- Which staff members or counters can handle which services
- Whether walk-ins and appointment customers share the same queue or have separate flows
- How priority customers (elderly, disabled, VIP) should be flagged and handled
- What happens when the queue reaches capacity — do you stop accepting new arrivals or manage overflow?
Choose Your Deployment Model
This is the most consequential decision in your setup process. There are three main options, each with different implications for cost, speed, control, and IT requirements.
| Model | Best For | Go-Live Time | IT Requirement | Upfront Cost |
|---|---|---|---|---|
| Cloud (SaaS) | Most businesses, especially multi-branch | 1–2 weeks | Minimal | Low (subscription) |
| On-Premise | Large enterprises, strict data sovereignty | 4–12 weeks | High | High ($50k–$200k+) |
| Private Cloud | Compliance-sensitive industries | 2–4 weeks | Medium | Medium |
For most first-time buyers — particularly in retail, healthcare, telecom, or hospitality — the cloud model is the right starting point. No hardware investment, goes live in days, and includes automatic software updates at no extra cost.
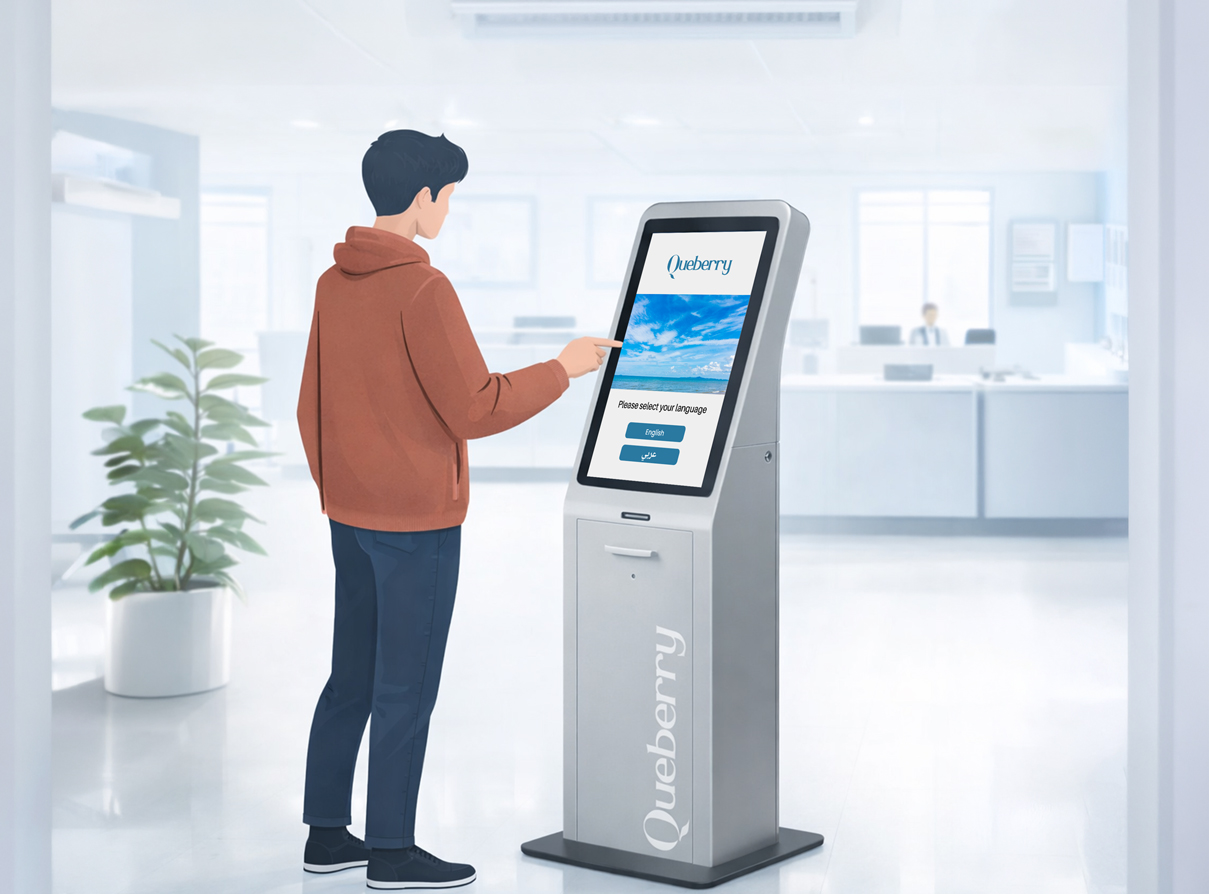
Select Your Check-In Channels
How will customers actually join your queue? In 2026, there are more options than ever — and the right combination depends on your customer base, your physical environment, and how tech-comfortable your visitors tend to be.
Configure the System and Integrate with Existing Tools
With your deployment model and check-in channels decided, you can now start the actual configuration. This is where most of the hands-on setup work happens.
A typical configuration phase covers:
- Adding all branches, counters, and service points to your account
- Setting up service types with average durations and routing rules
- Configuring notification templates (SMS, WhatsApp, in-app) in your brand voice and language
- Setting up digital display screens if using signage hardware
- Configuring your staff dashboard — what each agent sees when they call the next customer
- Setting business hours, holiday closures, and capacity limits per service type
- Connecting to third-party systems via API (CRM, appointment scheduler, EHR, POS)
Train Your Staff
Your QMS is only as effective as the people operating it. A perfectly configured system will underperform if staff don't use it confidently — or if they quietly revert to the old way when things get busy. Plan training in three groups:
Counter Staff and Agents
How to call the next customer, handle exceptions, flag priority cases, and mark a service as complete. This is your most important training group.
Branch Managers and Supervisors
How to read the real-time dashboard, interpret queue analytics, reassign staff to high-demand counters during peaks, and generate daily and weekly reports.
IT and Admin Teams
How to add or modify service types, manage user access, update notification templates, and handle basic troubleshooting.
Run a Soft Launch
Don't go live across your entire operation on day one. A soft launch — limited to one branch, one department, or one service type — lets you catch edge cases before they become public problems.
During your soft launch (typically one to two weeks), watch carefully for:
- Customers who are confused about how to check in — this reveals UX friction in your chosen channel
- Service types misconfigured with incorrect routing or duration estimates
- Notification timing issues — are customers being called too early or too late?
- Staff behaviour — are they using the system as trained, or falling back to old habits?
- Peak-hour stress points — does the system hold up when volume surges?
- Any integration failures between your QMS and connected systems
Measure, Review, and Optimise
Going live is not the finish line — it's the starting line. The real value of a QMS is in the data it generates and what you do with it. Most businesses see measurable improvement within the first month, but continuous optimisation delivers compounding returns over time.. Six metrics every QMS operator should track from day one:
5 Mistakes First-Time Buyers Make — and How to Avoid Them
Over years of working with businesses across banking, healthcare, retail, and government, the Queberry team has seen the same implementation mistakes come up again and again. Here's what to watch for:
A Realistic Implementation Timeline
Every implementation is different, but here is a typical timeline for a first-time Queberry Cloud deployment across a business with 1–5 branches.
| Phase | Activities | Duration |
|---|---|---|
| Discovery | Flow audit, service mapping, deployment decision | Days 1–5 |
| Configuration | Platform setup, service types, routing rules, integrations | Days 5–10 |
| Training | Staff sessions, manager dashboard walkthroughs, IT handover | Days 8–12 |
| Soft Launch | One branch or service type live, monitoring and adjustments | Days 12–21 |
| Full Rollout | All branches and services live, real-time monitoring active | Day 21+ |
| Optimisation | Weekly analytics review, routing refinements, staff coaching | Ongoing |
